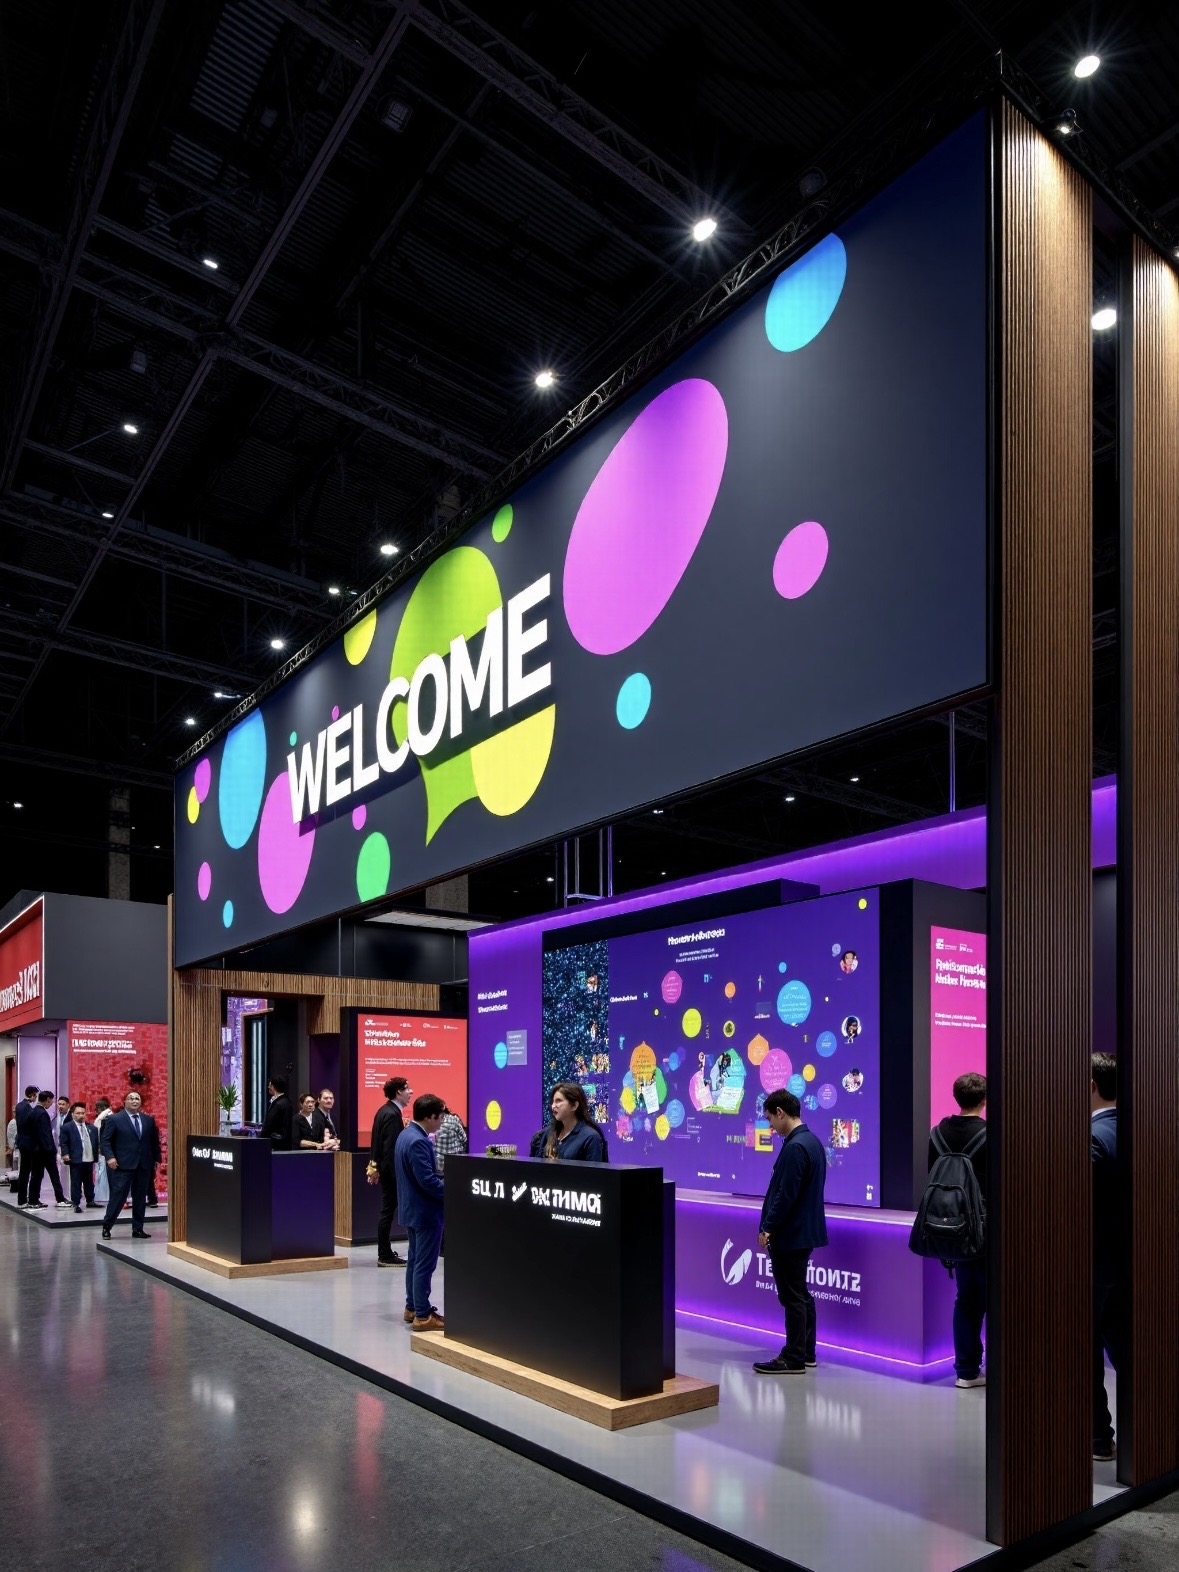
A successful LED screen installation is decided long before the first cabinet is lifted into place. Wall survey, structural capacity, power availability, and the signal path all constrain the design, and every one of them is cheaper to solve on paper than on site. Teams that rush into fabrication usually meet the constraint during commissioning, when rework is at its most expensive.
This guide covers the practical installation sequence for an indoor or outdoor LED display: assessing the mounting surface, choosing between wall, truss, and floor-standing configurations, routing power and data, and commissioning the finished screen. It is written for project managers, integrators, and facility teams who must coordinate several trades at once.
The first question is always what the screen will hang on. A solid concrete or steel-framed wall can usually accept a direct wall mount, but a curtain wall, a drywall partition, or an ageing brick facade cannot. In those cases the load has to transfer to structural columns, which means a steel frame spanning between them, and that frame becomes a design task of its own.
Survey the space with a laser level and record the true dimensions, because walls are rarely square and a five-meter screen will not forgive a twenty-millimeter error at one corner. Note the position of electrical panels, cable trays, air ducts, and sprinkler runs. Each of these can force a change in cabinet depth or in how technicians reach the rear of the screen.
Confirm the delivery route as well. A large screen ships as cabinets on pallets, and the path from the loading bay to the mounting position must accept the crate size, the pallet truck, and any lift capacity along the way. Discovering that the goods cannot reach the floor is an expensive surprise, and a short survey at the start prevents it entirely.
Wall mounting is the most common approach for indoor fixed installation. The cabinets attach to a steel sub-frame anchored to the structure behind. This keeps the screen flush and preserves floor space, but it demands a flat and load-bearing wall. Where the wall is uneven, adjustable brackets absorb the difference so that the finished face stays true.
Truss mounting suspends the screen from a structural grid overhead. It suits venues that need the display raised above a floor, such as shopping malls, stadium concourses, and exhibition halls. The truss must be rated for the dead load of the cabinets plus the live load of wind or crowd vibration, and it should be inspected after any major event.
Floor standing frames carry the entire weight on a baseplate and are the practical answer for outdoor LED screens and rental stages. The frame is bolted to a concrete footing, and the baseplate and anchor bolts are sized by a structural engineer. On soft ground, a ground screw or a ballast system may replace the concrete footing.
Whichever method is chosen, allow service access behind or in front of the cabinets. Front-serviceable designs let a technician pull a module from the face, which is essential where the screen sits flush to a wall. Rear-serviceable designs need a walkable gap, so budget at least sixty centimeters of clearance for a person and a tool bag.
Weight is not the only structural number that matters. The frame must also resist lateral force, which on an outdoor screen is dominated by wind and on an indoor screen by accidental contact. Bracing between the frame and the structure turns a heavy panel into a rigid assembly, and it is the detail most often missing on low-cost installations that later develop loose cabinets.
| Mounting Method | Best For | Structural Demand | Service Access |
|---|---|---|---|
| Wall mount | Indoor fixed walls, lobbies | Medium - depends on wall | Front or rear |
| Truss mount | Malls, venues, ceilings | High - overhead grid | Rear |
| Floor standing | Outdoor, stages, rental | High - footing required | Front or rear |
| Mobile trailer | Events, roadshows | Self-contained hydraulic | Front |
| Pole mount | Highway and roadside | High - wind governs | Rear |
An LED screen is an electrical load that must be planned like any other equipment. Calculate the maximum power draw from the cabinet datasheet, not from the average consumption, and size the breaker, cable, and distribution board with headroom. A screen rated at eight kilowatts peak can trip a shared circuit the moment content jumps to full white.
Balance the load across phases. Cabinets are usually wired in groups, and an unbalanced three-phase feed produces a neutral current that heats cables and shortens the life of the distribution board. Label every group so that a technician can isolate one section for maintenance without taking the whole screen offline.
Data is carried by Cat6 cable or fiber, depending on distance and the level of electrical noise. Copper is fine for short indoor runs, but any span beyond roughly one hundred meters should use fiber to avoid signal loss and ground loops. Keep data cable separated from power cable by at least ten centimeters, and cross them at right angles where they must meet.
The sending system consists of a controller, a sending card, and the receiving cards inside the cabinets. Plan the cabinet map and the data chain at the design stage, and leave spare ports on the controller. Spare capacity costs little at build time and saves a great deal when the client later adds a section or a redundant source.
Keep a wiring schedule from the beginning. Every cable run should be labelled at both ends and listed in a document that survives the installer. When a fault appears three years later, that schedule is what turns a day of tracing into an hour of repair, and it is the single most valuable piece of paper handed over with the screen.
| Element | Typical Practice | Common Mistake | Consequence |
|---|---|---|---|
| Breaker sizing | Based on peak draw plus margin | Using average consumption | Nuisance tripping |
| Phase balance | Distribute groups evenly | All cabinets on one phase | Overheated neutral, uneven load |
| Data cable | Cat6 indoors, fiber over 100 m | Mixing power and data runs | Signal loss, ground loops |
| Redundancy | Spare controller ports | Filling every port at launch | No room for expansion |
| Grounding | Single bonded earth point | Multiple earth paths | Ground loop, visible flicker |
Commissioning turns a working screen into a reliable one. Begin with a dead-pixel test, cycling solid red, green, blue, white, and black fields. Any module with a high failure rate should be replaced before sign-off, because a module that fails in the first week is likely a manufacturing defect rather than a wear-out.
Then check the color and brightness uniformity across the whole face. Modules from different production batches can differ slightly, and a low-brightness module next to a bright one is visible against a calm sky or a white background. Most controllers offer per-module brightness correction, and the calibration should be recorded so it can be restored after a repair.
Verify the refresh rate and grayscale performance with a camera test, because a screen that looks fine to the eye can show dark scanning bands on a phone video. Shoot a few seconds of footage using the content the client will actually run, and check the result on a phone rather than only on a monitor.
Finally, hand over documentation: the cabinet map, the power and data schematics, the controller configuration file, and a spare parts list. Train the client operators on basic controls and brightness scheduling, and agree a service contact for the warranty period. A screen with clean documentation is far easier to support than one that only its installer understands.
Agree the acceptance criteria in writing before work begins. Brightness uniformity, dead-pixel tolerance, and refresh performance should be defined numerically so the final inspection is a measurement rather than an opinion. A clear standard protects both sides and removes the disagreement that so often delays final payment on a completed screen.
Asia Vision Technology manufactures LED displays for fixed and rental installation and supports the design stage with cabinet dimensions, load data, and power figures that engineering teams need to lock the steel design before fabrication. Our products carry CE, FCC, and RoHS certification for export markets.
The CV-PRO indoor COB series delivers a contrast ratio of 10000:1, the X series rental cabinets measure 500 by 500 millimeters and weigh 6.5 kilograms with front and rear maintenance access, and the D-PRO outdoor series is rated IP65 with brightness above 8000 nits. Pixel pitch spans P0.9 to P20, orders ship in fifteen to twenty working days, and every screen carries a three-year standard warranty.
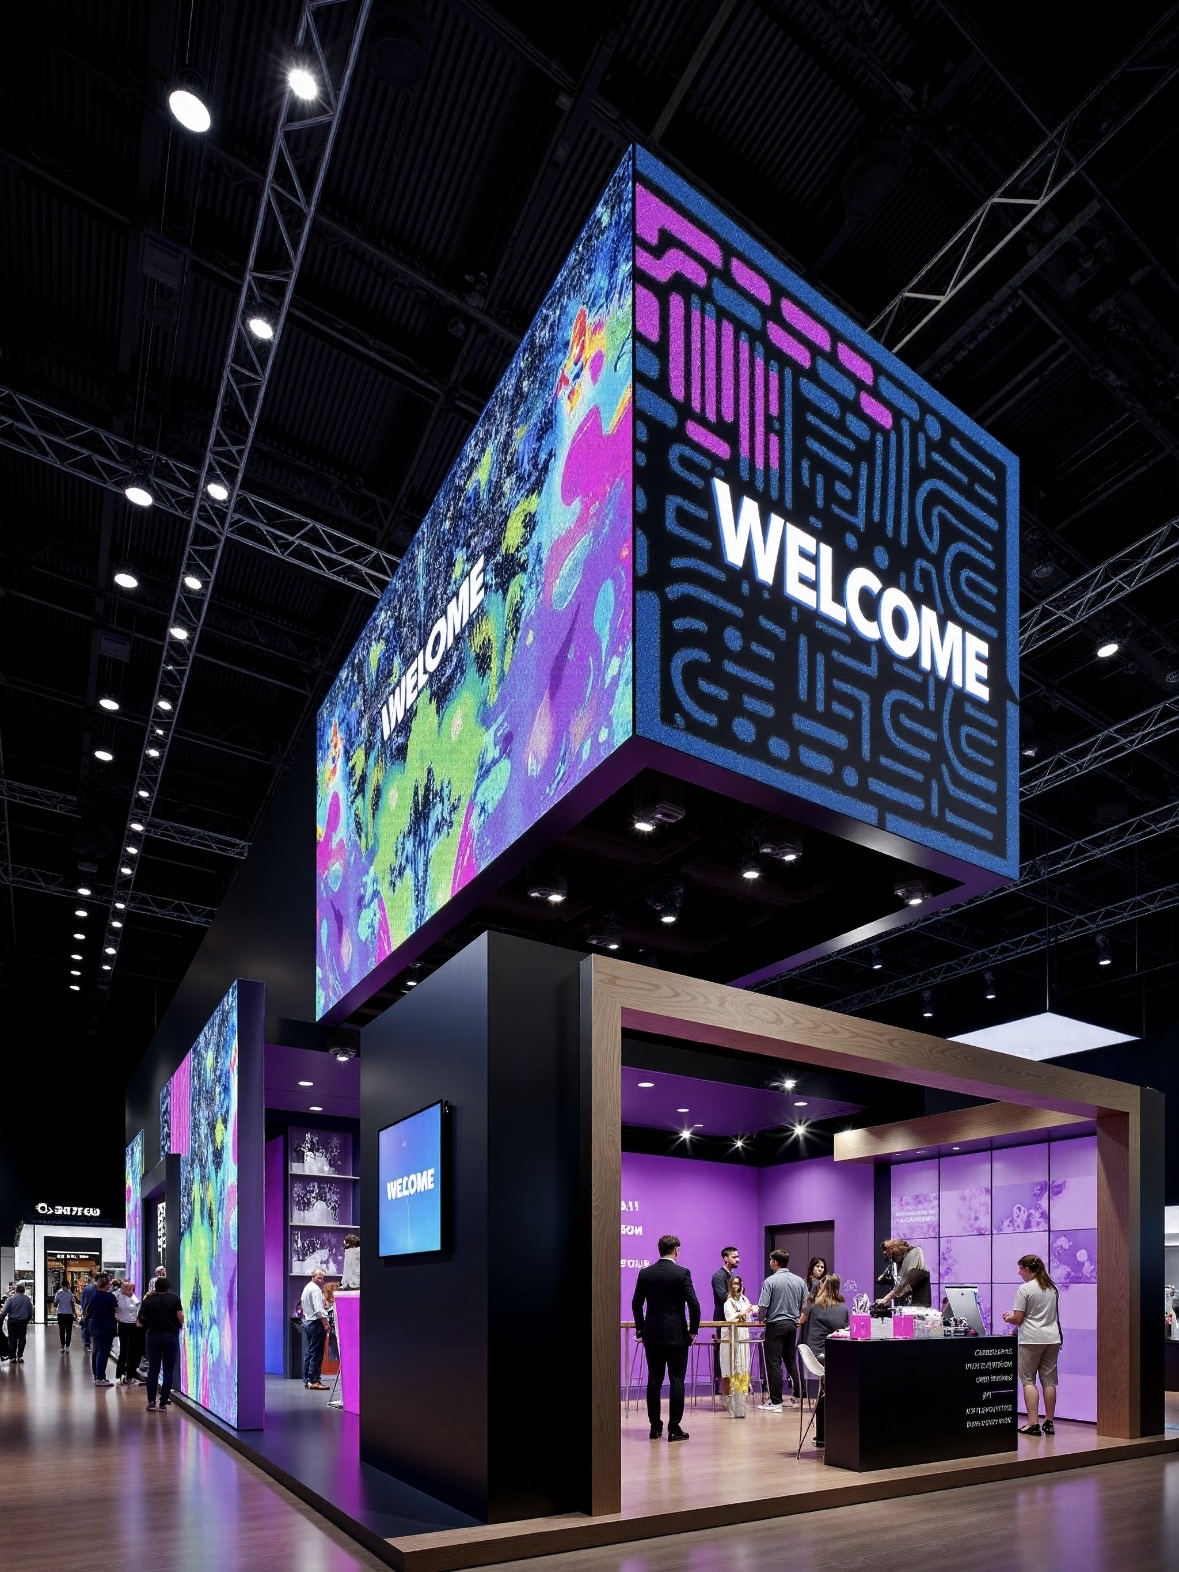
For this requirement our range covers it directly: the COB EF outdoor series (IP65, 3000 nits) and the D-PRO outdoor series (front maintenance).
Related reading: Immersive LED Trends 2026: Rooms, Domes, and XR Stages
Related reading: LED Display Solutions for Museums and Art Galleries: Complete Guide 20